Been to Restoration Hardware, lately?
Have you seen their zinc tables? They are really cool, but pricey.
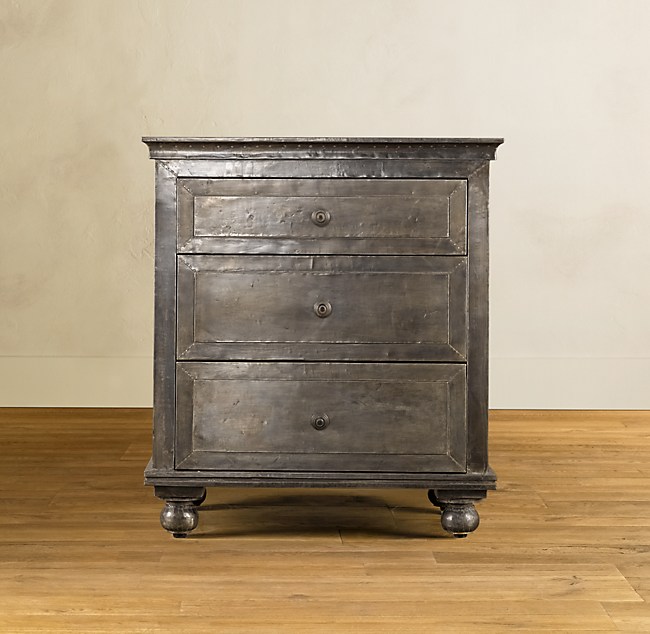
*restoration hardware
I wanted to make my own, since buying one just isn't an option as a SAHM and a firefighter's wife. I have a hard time going into retail shops without thinking, "I can make that and for a lot less." While I can't weld a zinc table myself, I thought that I could paint something to look like zinc. So, I found some inspiration on Pinterest:

*maisonhome

*greigedesign

*laurieannas
Then, I researched online, how to get "the look" from sources like sugarandcharm and freckled laundry.
Looked achievable and I already had most of the supplies on hand. I have a table behind my sofa I chose to refinish in "zinc."
I gathered my supplies:
1.) 150 grit sand paper
2.) quart of black 2n1 primer + paint in satin (I used Glidden brand at Walmart)
3.) 2oz Folk Art Metallic Pearl White acrylic paint (Walmart) x2
4.) 2" paint brush
5.) paper plate (to put the acrylic paint while you paint)
6.) finishing nails (short nails with small heads)
7.) hammer
So, this is how my table looked in the beginning:
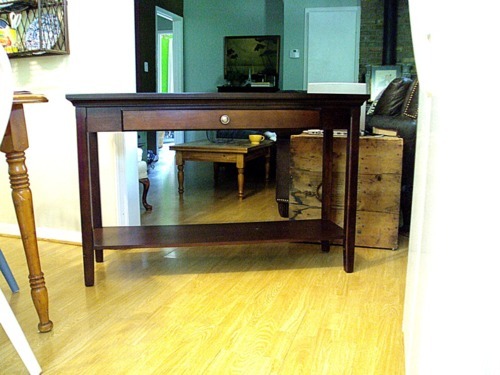
I purchased this table at Target a couple years ago.
It was a dark wood with a brushed nickel knob. So-so looking, but I liked the shape and it worked well behind my sofa. always meant to paint it, but never found the right color....till now.
Step by Step:
1.) Wipe down with damp cloth.
2.) Let dry.
3.) Lightly sand.
4.) Wipe off.
5.) Apply 2 coats of the black paint as a base color.
Here is what it looks like after those steps.
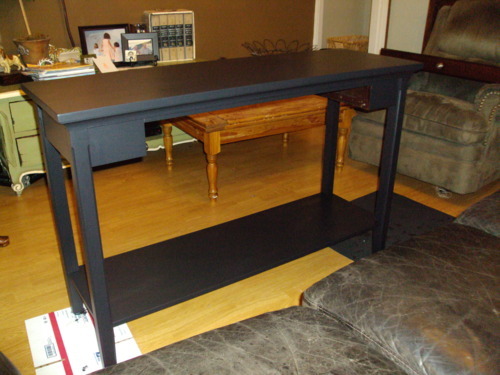
(Excuse the hideous recliner in the background! My husband refuses to part with it till I find a replacement. Where does one find a shabby chic recliner?!)
6.) Load a clean paint brush with metallic pearl white paint and "pounce" (bounce brush up & down off surface) Work in small sections.
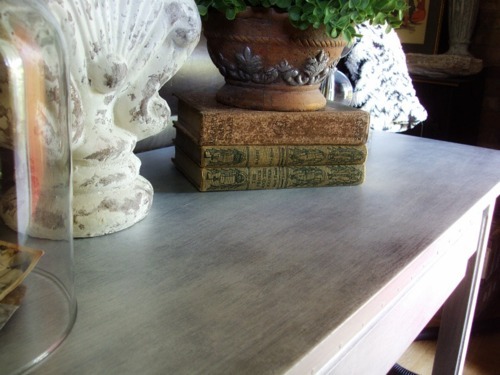
7.) Rub the brush in same area in circular motion to blend the paint. You want to achieve a metal surface look. No brush strokes.
Work your way all over the table until you cover the what you want, whether it's just the top, the bottom, or like me, the whole thing. Add as many coats of the pearl until you achieve the depth and look you desire. Some black should show through.
8. ) Now, add the nails. I added them around the top edge and on top of the legs.
9.) lightly brush the nail heads with the pearl paint to blend them in with the rest of the "zinc" table
You're done. That's it. 9 steps. Cool, huh?!
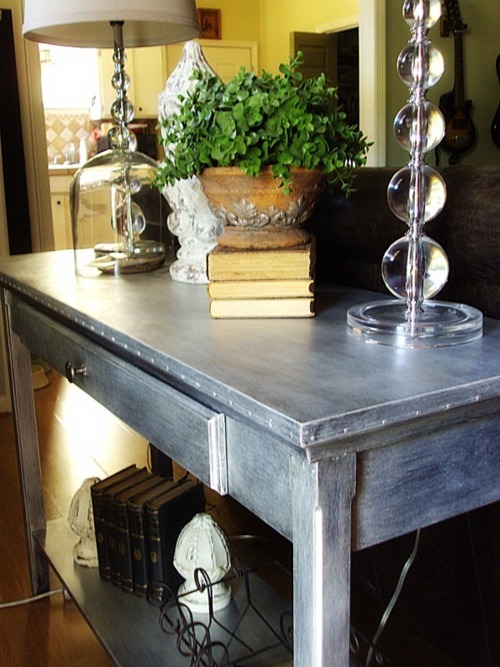
and the reveal........
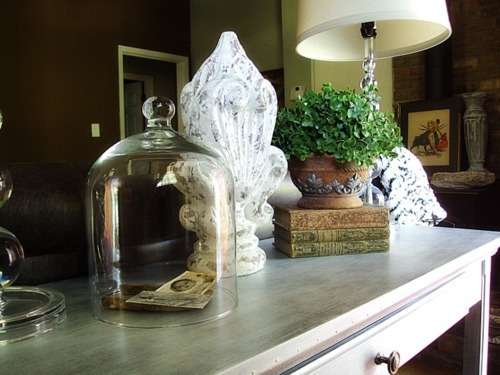
you should end up with something that looks like this:
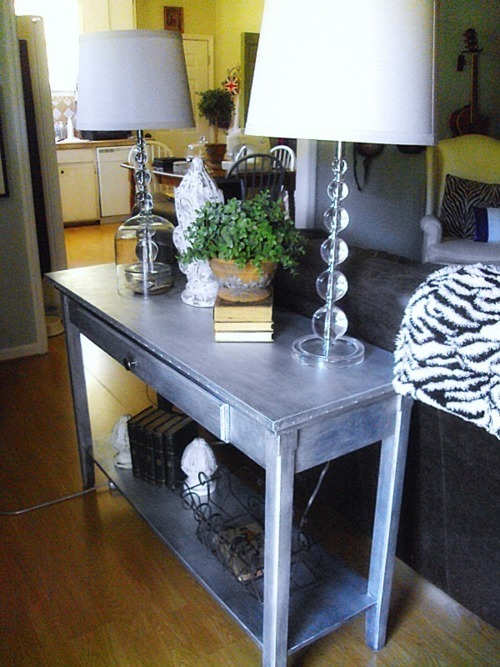
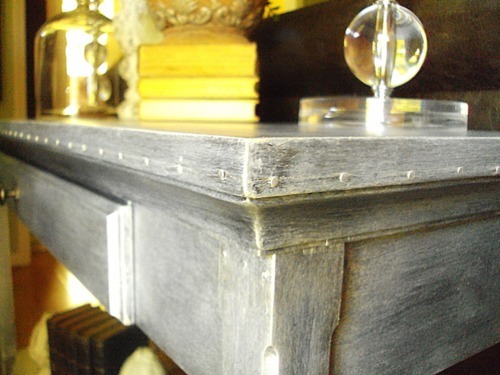
This is a closer view of the finish and the nailhead detail.
I am so happy I painted this sofa table! The "zinc" looks nice up against my leather sofa.
I hope this inspires and motivates you to "zinctify" a piece of furniture. Or even a mirror frame. Or how about a tray? If you do, I would love for you to share your piece here with me.
Happy making!
Pam
P.S. For a whole mess of tutorials, you should visit The Lettered Cottage blog. That is where post mine on Tuesday, once a month. Click the button below:
p
P.P.S. Also, check out Miss Mustard Seed's Furniture Feature Friday for my (#207) tutorial and many others!
P.P.S. Also, check out Miss Mustard Seed's Furniture Feature Friday for my (#207) tutorial and many others!

P.P.P.S. If you're looking for some of the best projects from 2011, check out Not Just A Housewife's blog. I am entering this tutorial in their contest. I hope I win!

That looks great, love the finish and the nail head detail was the perfect touch.
ReplyDeletebless you! i absolutely adore this project and am so grateful you shared it. i have been wanting to zinctify something...anything...and you've given me what i need to get my hands dirty.
ReplyDeletethanks so much--the table looks amazing. is it easy to find the nailhead trim?
come visit anytime.
michele
michele- thank you so much! i would love to see what you make when you're finished. share with me when you're done, please! the nailhead finish is, literally, small finishing nails you can find at Lowes or any hardware store. Look in the nail aisle and try to find the smallest and shortest you can find. If they are too big, it will split your wood. I learned a tip though, if you flatten out the end of a nail with a hammer, it won't split your wood. However, I am too impatient to do all that! Hope that helps.
ReplyDeletePam
SPOT ON! Very nicely done! Sending this story link to a friend of mine who would really love to read how you did it. Your "zinc" table is da bomb! Nice job!
ReplyDeleteVisiting from MMS Linky Party today,
~Suzanne in NW Illinois
Thanks so much, Suzanne, it means a lot to hear you like it! You're da bomb! lol
ReplyDeleteOh, and thanks for sharing with your friend!
Pam
Beautiful change! Love the color now and the nailhead detail.
ReplyDeleteThank you!
DeleteYou did a great job, the bit about the nailhead trim really knocks the look outta the ballpark. It makes the jump from faux painted to looking like zinc. Thanks for sharing!
ReplyDeleteThanks, Becca! I know this is really late reply, but I've been away from my blog for a looong time and am trying to play catch-up. After looking at all the zinc tables, I noticed the riveting and thought the nails would do the trick!
DeleteI'm kind of late in commenting, but here I am :) It's never too late for a nice comment, is it?!
ReplyDeleteThis is such a great update. A great shape and the nails really add to the authentic zinc look.
I have a set of coffee table, end table and sofa table that I am making over, but for the life of me could not come up with a finish for the top. Now I do! Thank you for sharing how you achieved your look.
Thank you so much! I haven't posted anything in a looooong time, but goal for 2013 is to get back to sharing more tutorials and things that I love. I think zinc tops will look amazing!
DeleteThanks so much for the tutorial! I live in the middle of nowhere, so Walmart or the internet has to serve as my craft store. Don't want to wait, so I'm off to walmart. Your table looks so good and a LOT fewer steps than what others have been doing. Good job!
ReplyDeleteThank you! I also live (almost) the middle of nowhere and have a few resources for supplies. I also don't like complicated DIY or it isn't happening around here! I don't have patience to wait too long to see the results. :)
DeleteI love the look can't wait to do my credenza...
ReplyDelete